SPM Migration Steps
Must do steps for template files migration to your project.
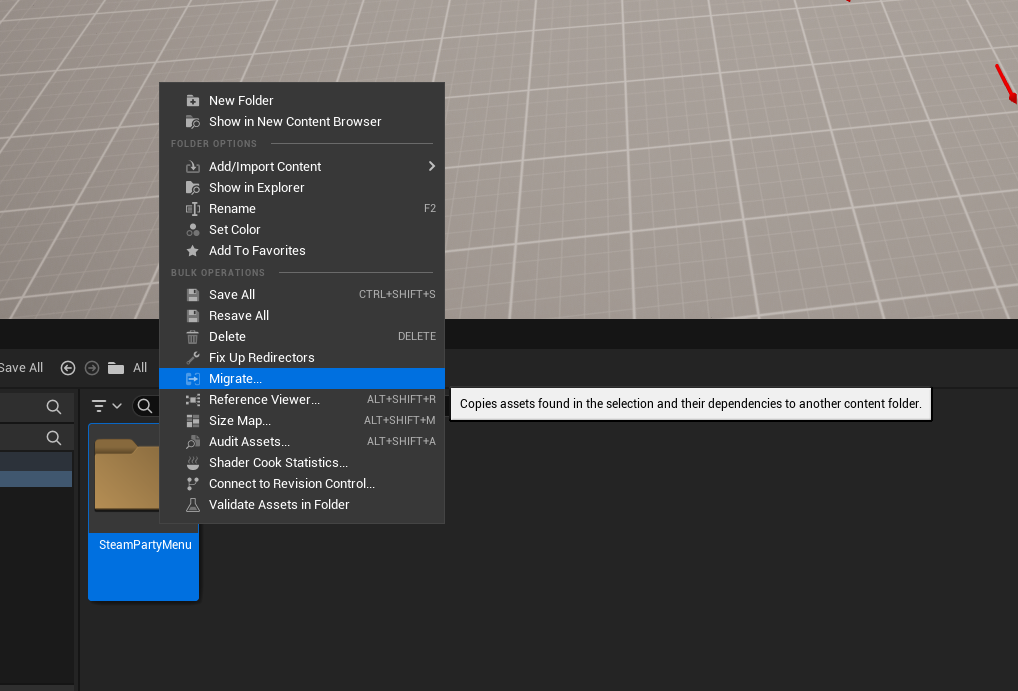
Migrating Files
Download and create SPM project from Epic Launcher. After that right click on SteamPartyMenu folder and choose to migrate files.
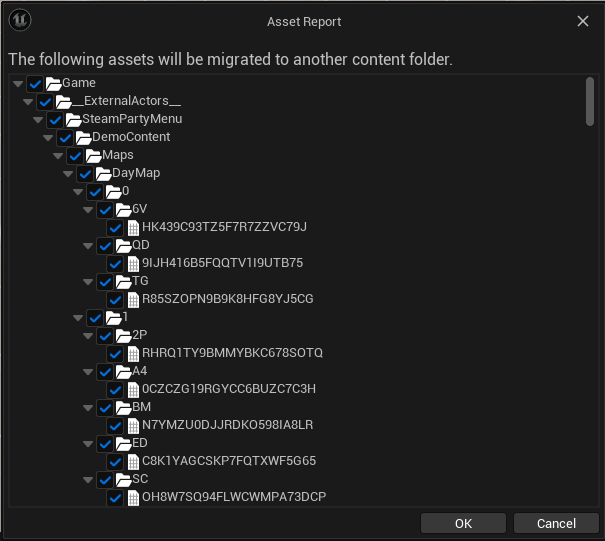
Select all files. It is recommended to remove demo content after migration and ensure that everything is functioning correctly in your project.
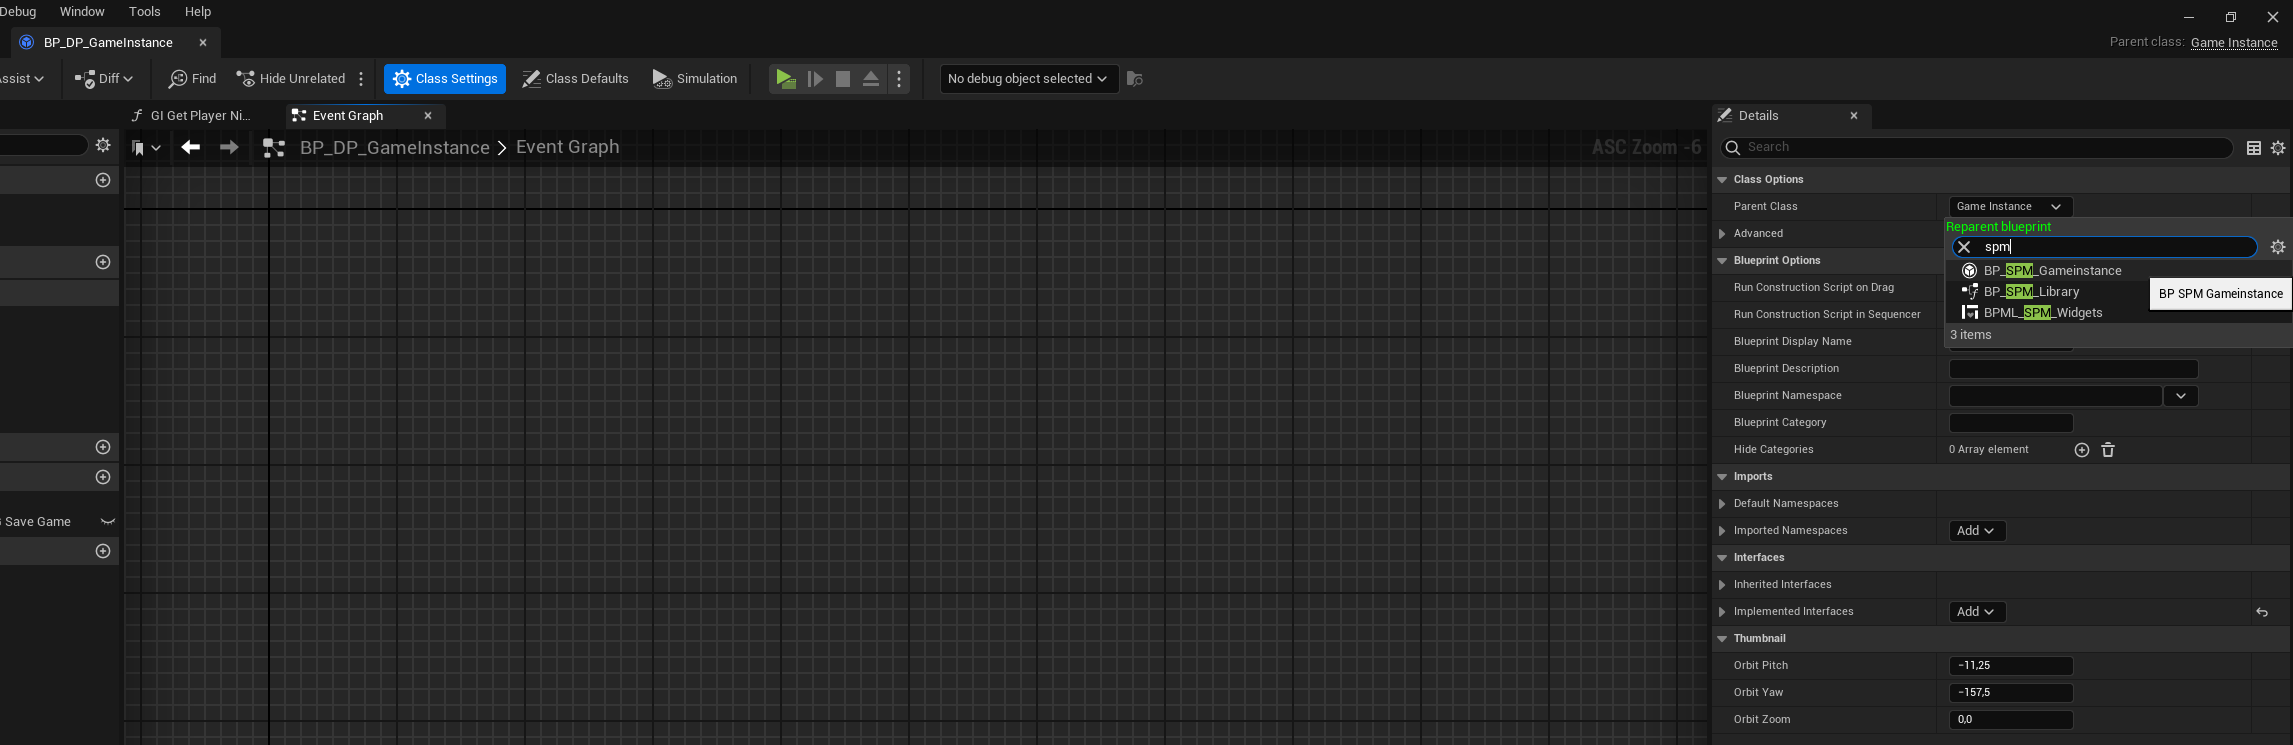
Parent BP_SPM_Gameinstance
If you don't have a GameInstance class in your project, you can either use BP_SPM_GameInstance or create a child class from it.
If you do have a GameInstance class, open it and set BP_SPM_GameInstance as the parent class in the class defaults.
Project Settings
In project settings set PartyMenu as Game Default Map. You can also set it as Editor Startup Map.
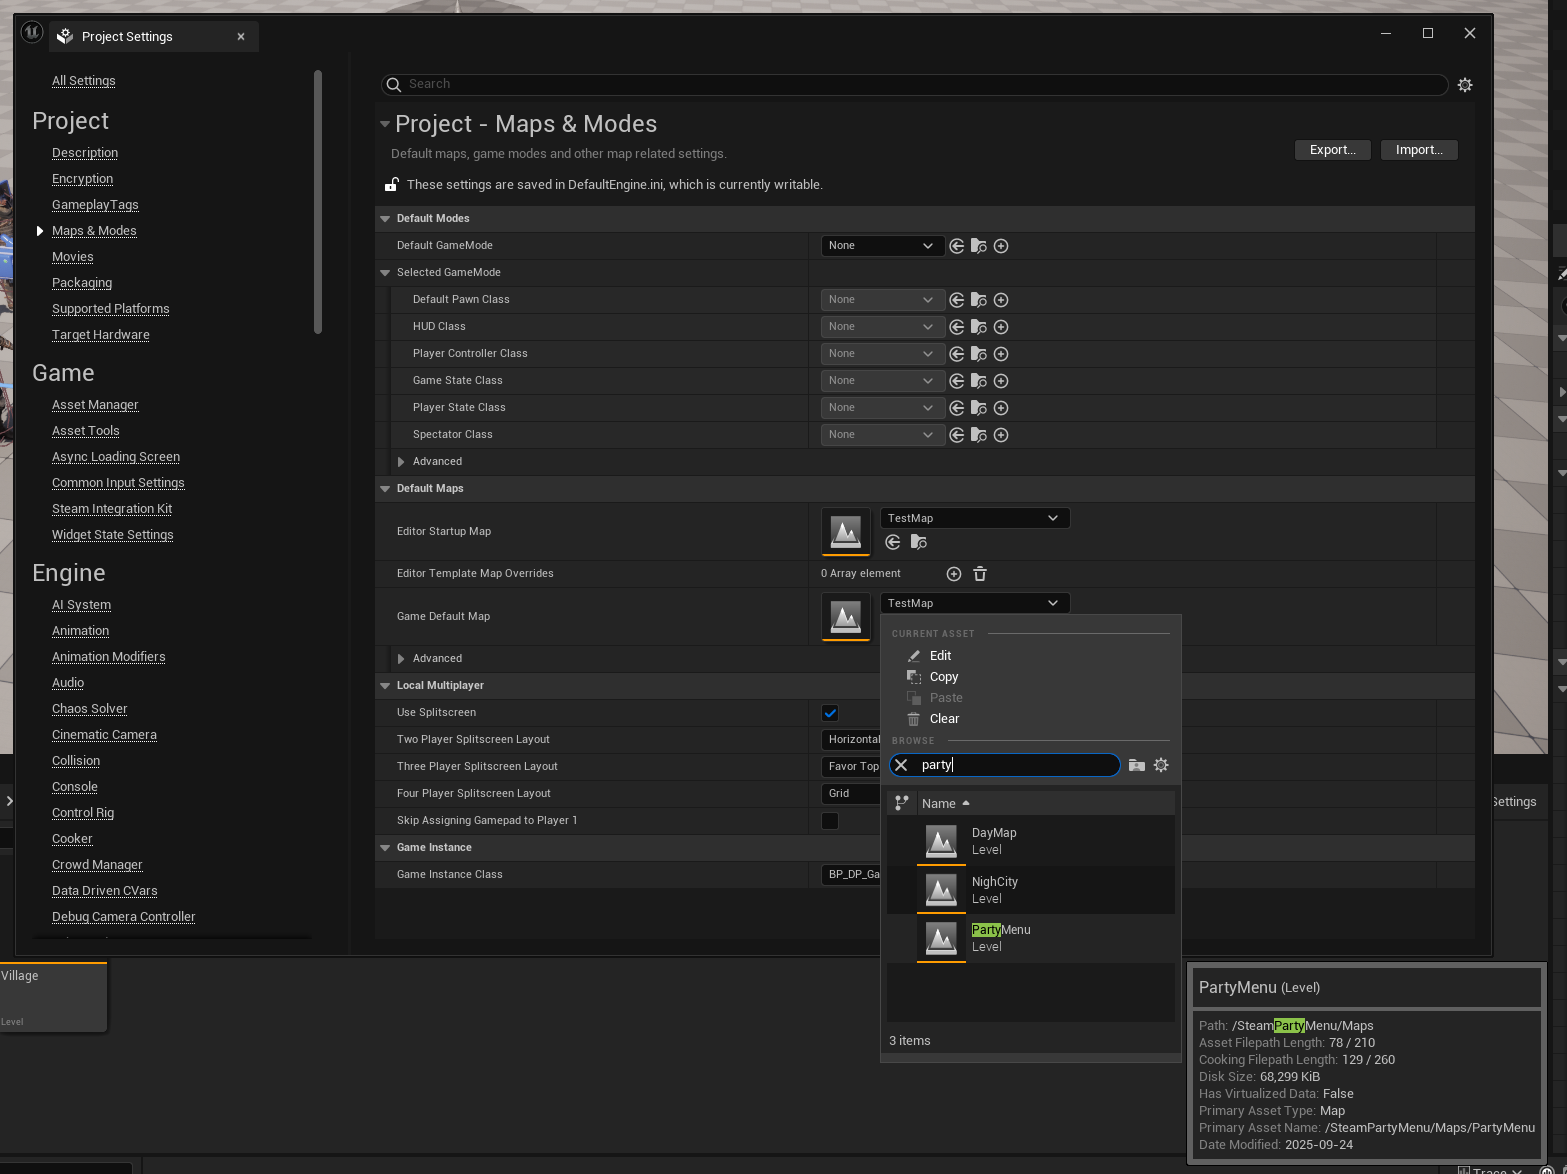
Here you can also set BP_SPM_GameInstance as your project's Game Instance Class if you don't have any.
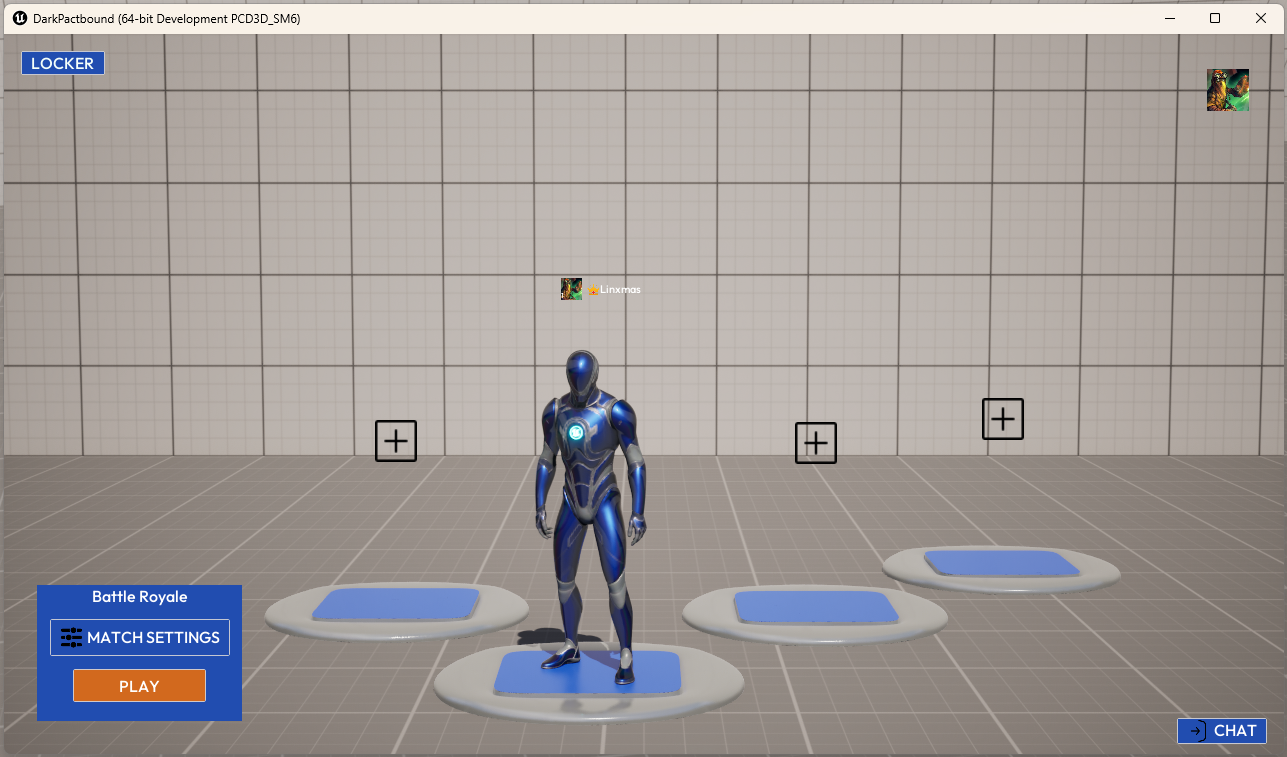
Initial Lauch
- Open
PartyMenulevel.
If you run it in PIE (Play in Editor), you should see this window. The SPM partially works in PIE, including features like the locker room and saving/loading game settings. However, for Steam to activate, you need to launch the game as standalone game.
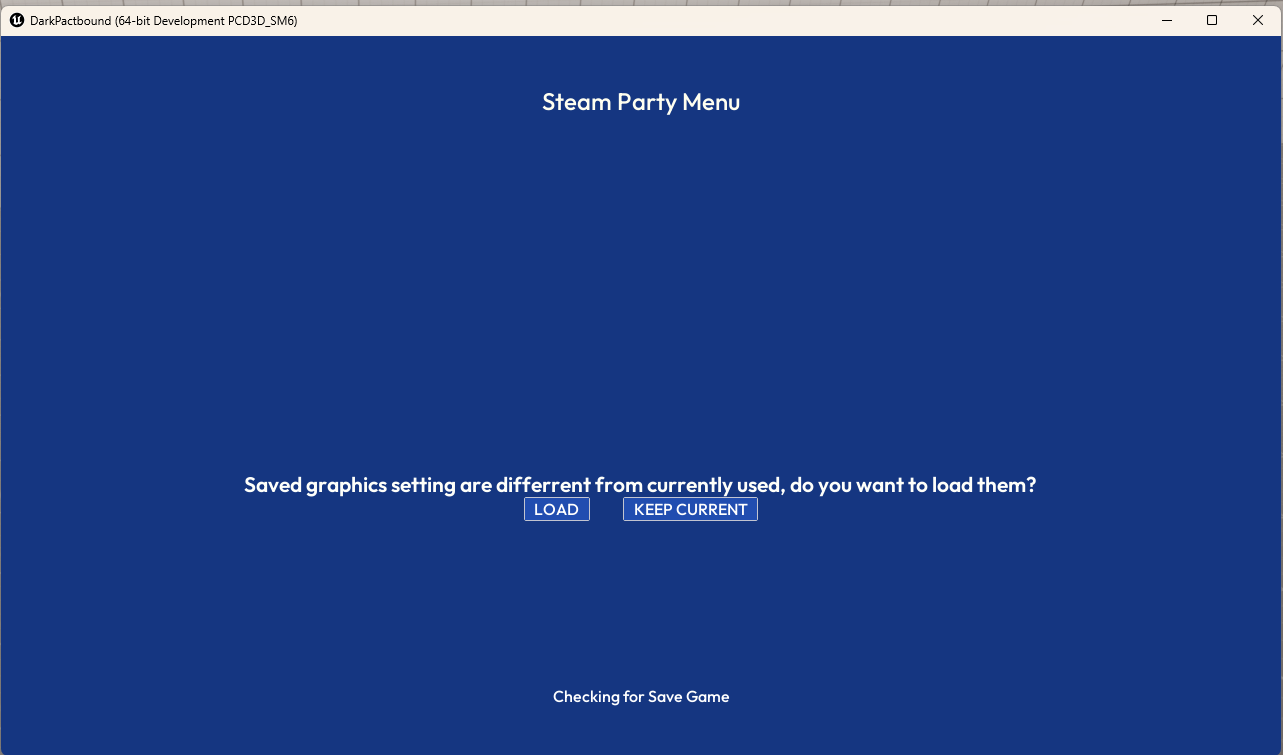
- Run as Standalone Game.

You might encounter this pop-up. This feature allows the user to load game settings from a save file if they differ from the current settings. When launching in the editor, select Keep Current.
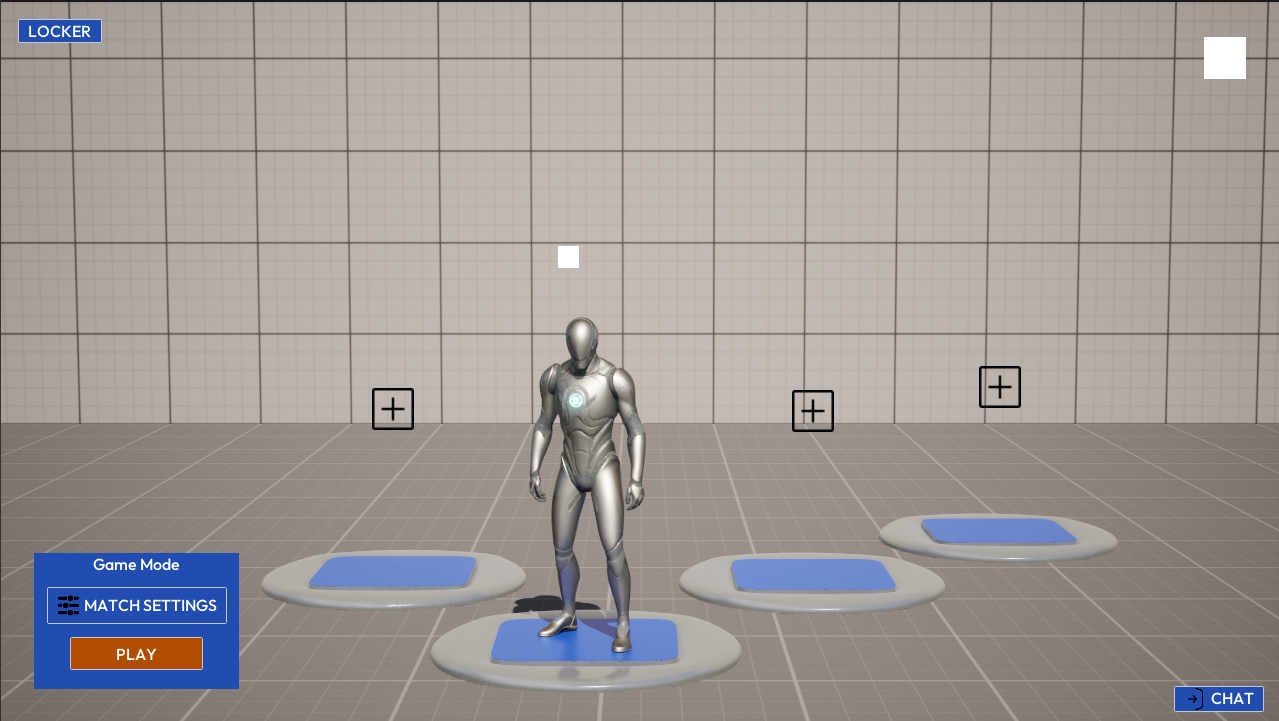
If everything was done correctly, you will be greeted with your character. Now that we have successfully launched the template, we can begin learning how it works and how to make modifications to it.